Blog

Converting and Compressing .Avi to .Mp4

Video Fun Box, Video Stock Box, 3D eBook Shot and 3DSFMM all export video in Avi format. This is fine for most editing software, but to play video online, you need to convert avi to mp4. Over the last few years, mp4 has become the de facto standard for delivering video online. In this article, we’re going to take a look at an open source software package called Avidemux. Avidemux copes with the task of converting video with ease. As well as converting an avi to mp4, Avidemux can also be used to compress video.  This is important if you plan to use mp4 video on a website and you don’t want too much buffering.  Compression also helps if you are concerned about using too much bandwidth. You can download Avidemuxe from page linked below. This will open a new browser Window. Download and install it and you will be able to follow along with this tutorial, step by step.

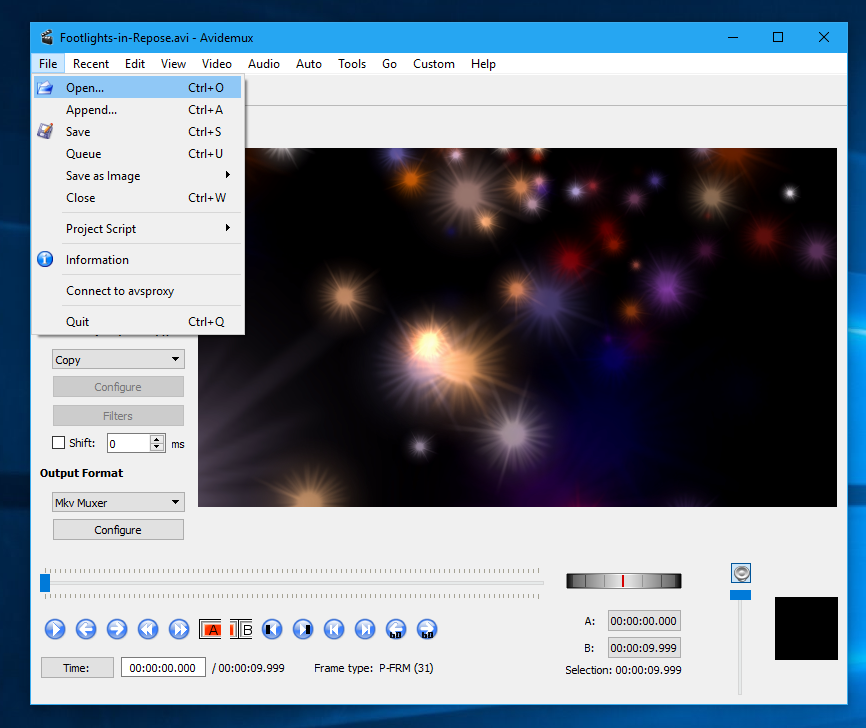
Open Avidemux and select File Open, or drag and drop your .avi file into the Avidemux main window.
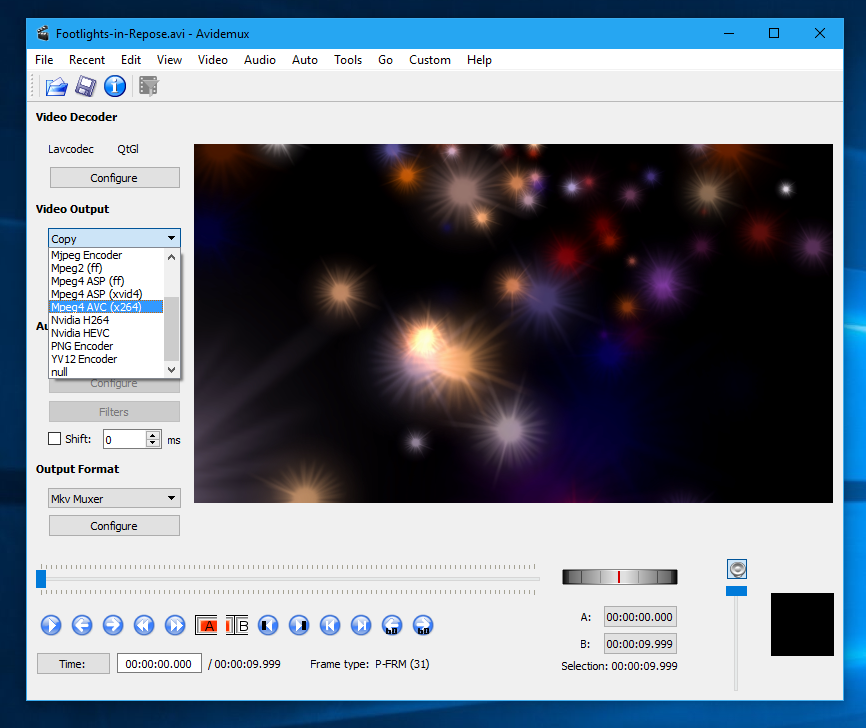
Once your .avi file has loaded, select Mpeg4 AVC (x264) from the drop down list under Video Output as shown below:
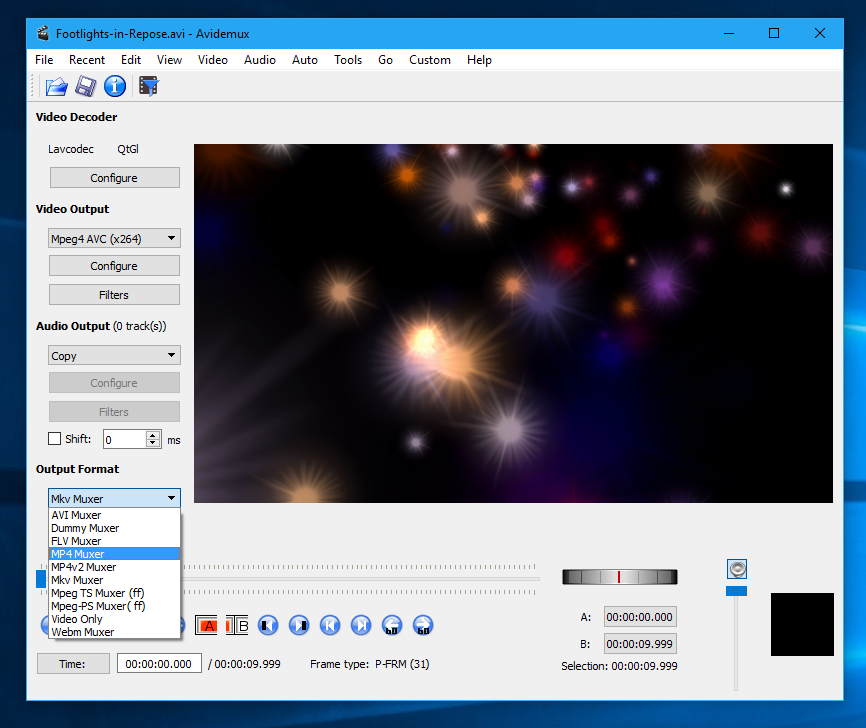
Select MP4 Muxer from the drop list under Output Format:
Click the Configure Button under Video Output. The X264 Configuration options will now appear. Were going to look at a simple method of compressing an .avi to .mp4, so select Constant Rate Factor (Single Pass) from the drop list next to Encoding Mode under Rate Control.
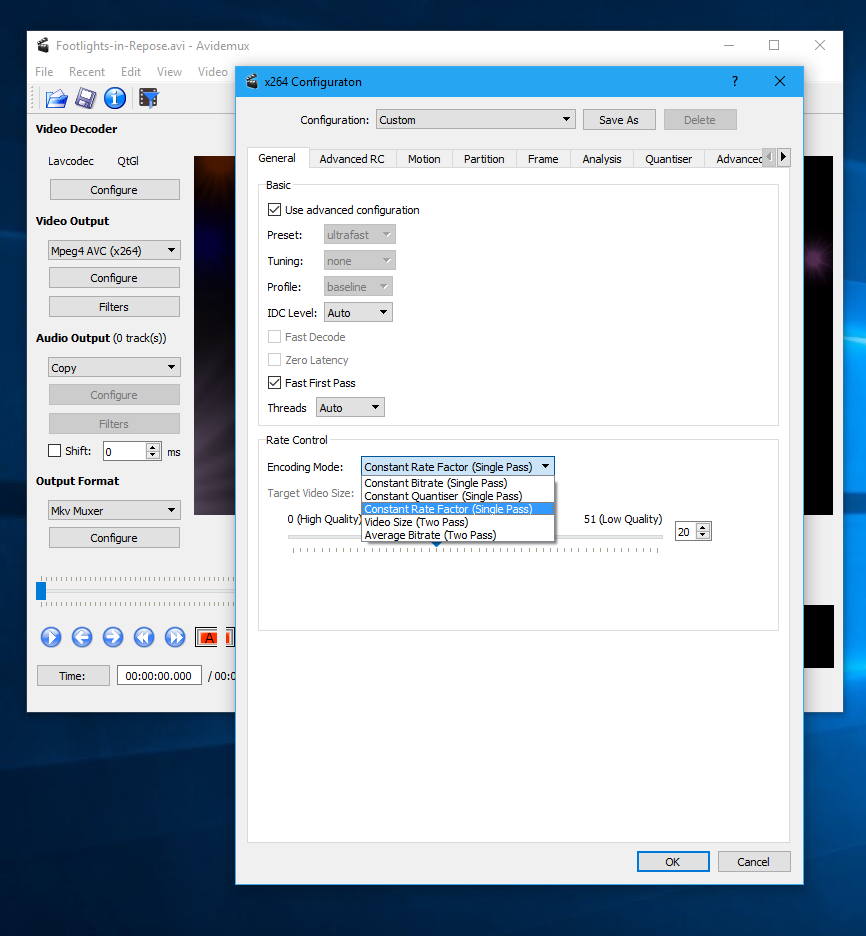
You can now Adjust the Slider from Left (High Quality) to Right (Low Quality).
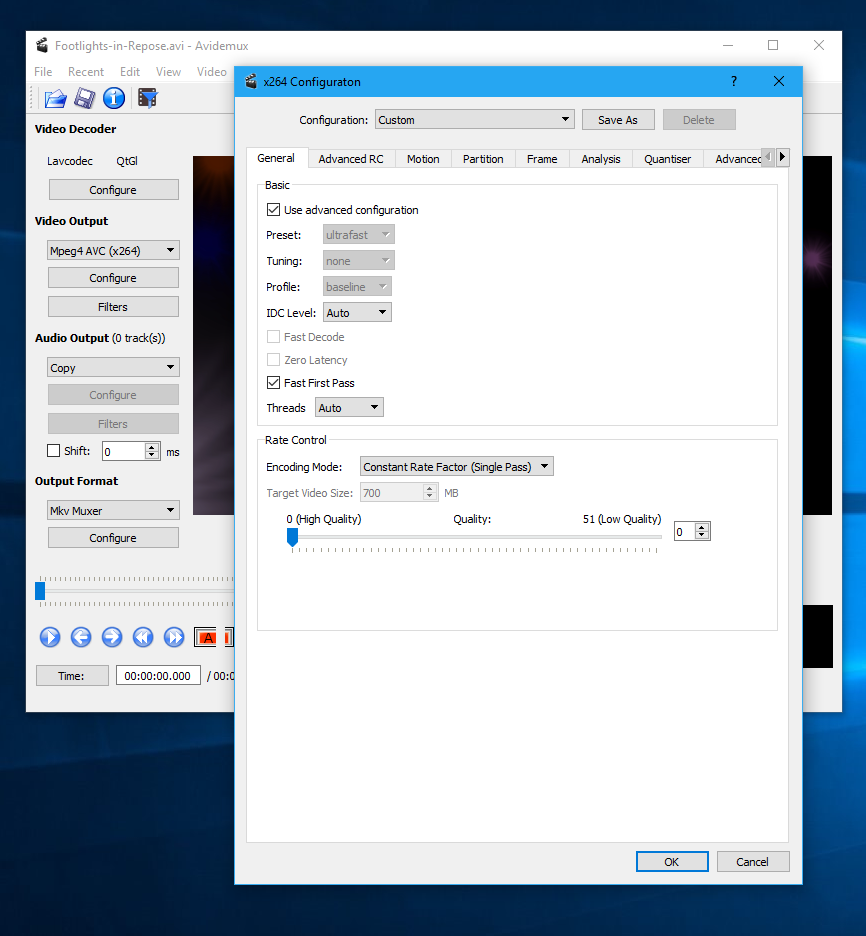
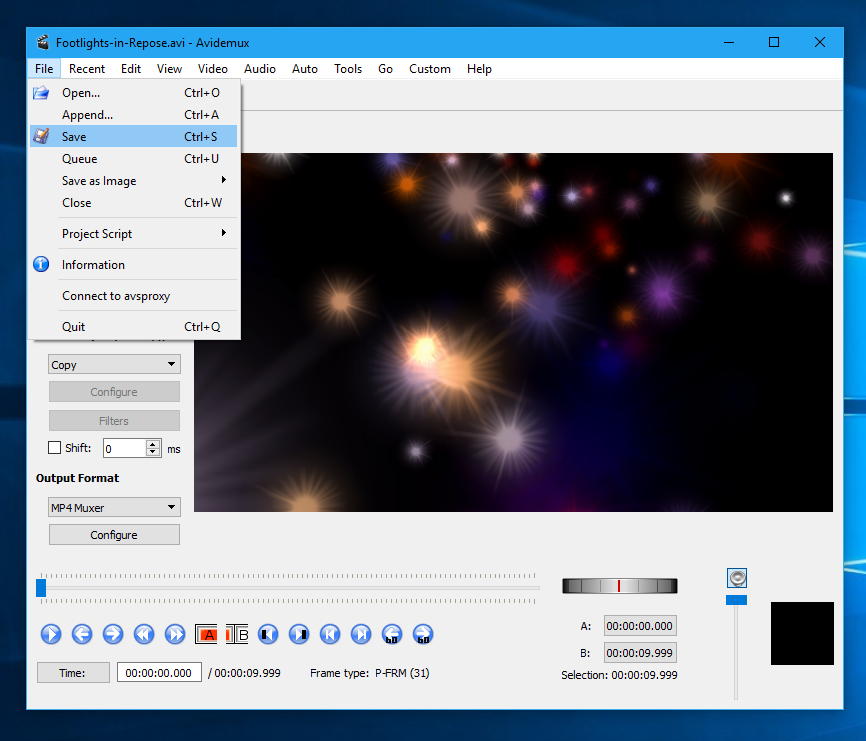
Once you have decided what quality settings to use, click the OK button to confirm your choice. You can now Save the .mp4 file using File->Save:
Video compression inevitably results in a trade-off between file size and file quality. The smaller the file gets the worse the quality becomes. The bigger the file, the higher the quality.

Here are some examples that show the effects of compression on video quality. In each of the video clips below, we’ve used the same 10 second video clip generated in Video Fun Box.

To start with, we’re going to see how the file looks with very little compression. This results in a big file that will take some time to start playing and will buffer on slower networks.

High Quality. Avidemux Slider set to Zero. File Size 32,550 kb

Medium Quality. Avidemux Slider Set to 25. File Size 1,331 kb

Low Quality. Avidemux Slider Set to 51. File Size 299kb

Seamless Pattern Video Background

In this short article, we’re going to look at how to can use Video Fun Box to generate a seamless video background loop using a seamless pattern. There are plenty of free resources available online that you can use for this purpose. A quick Google for “Seamless Background Pattern” returns plenty of resources.

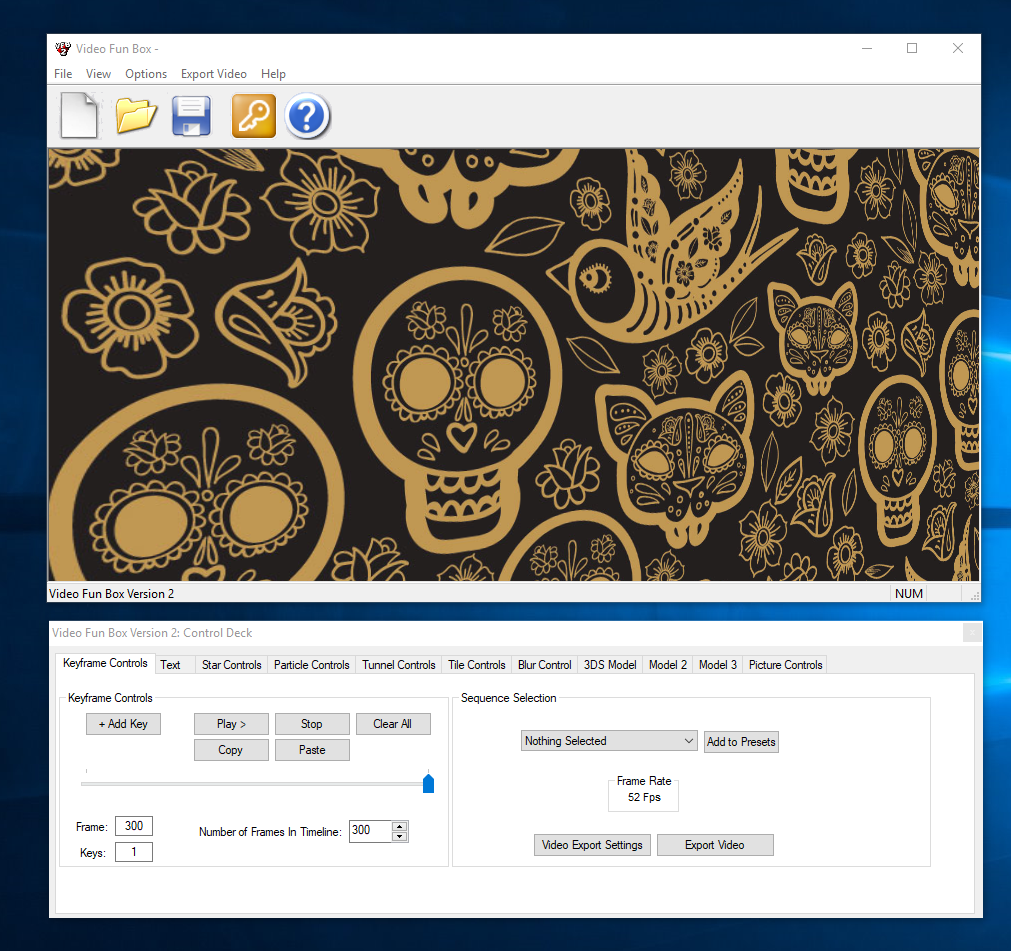
We decided to use this day of the dead background:

After converting the image from a .PNG to a .JPG and resizing it to 1024 x 1024, it’s ready to be loaded into Video Fun Box.  Start the program and Click the Key Icon on the menu to open the control deck.

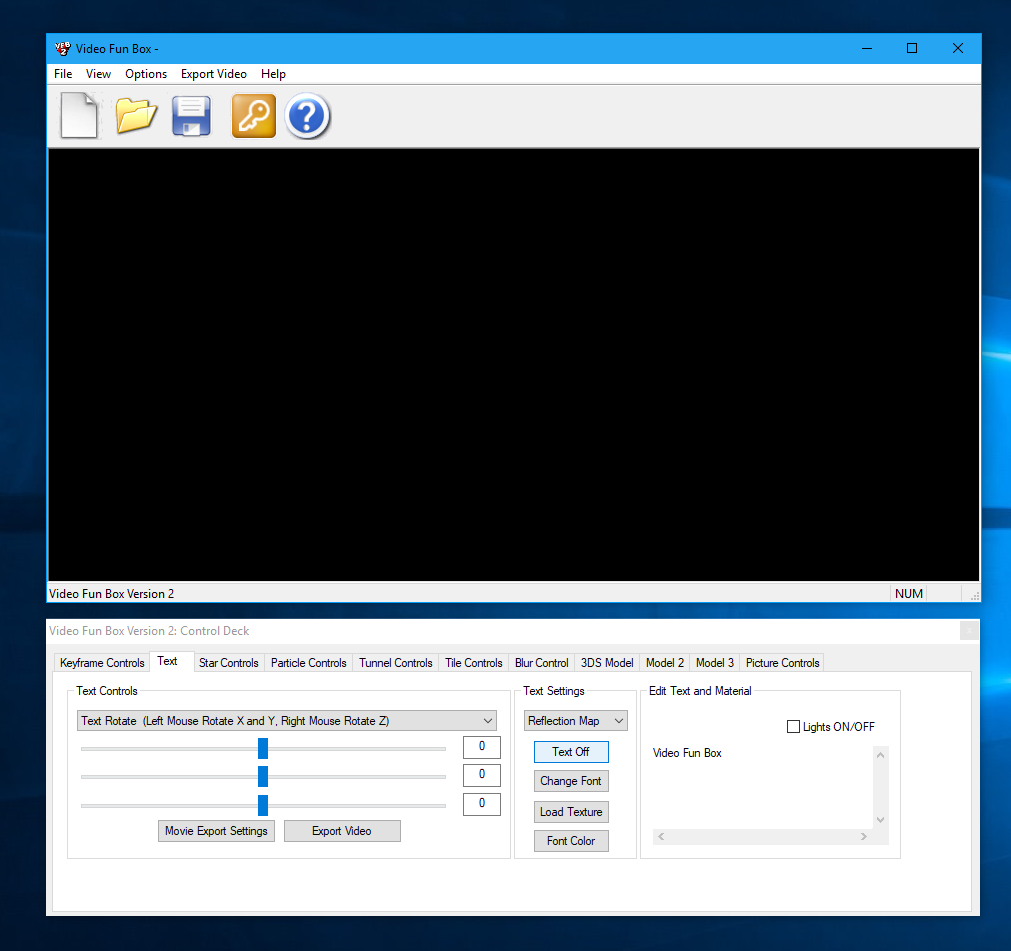
Select the Text tab and Click the Text On / Off button to turn off the Text.

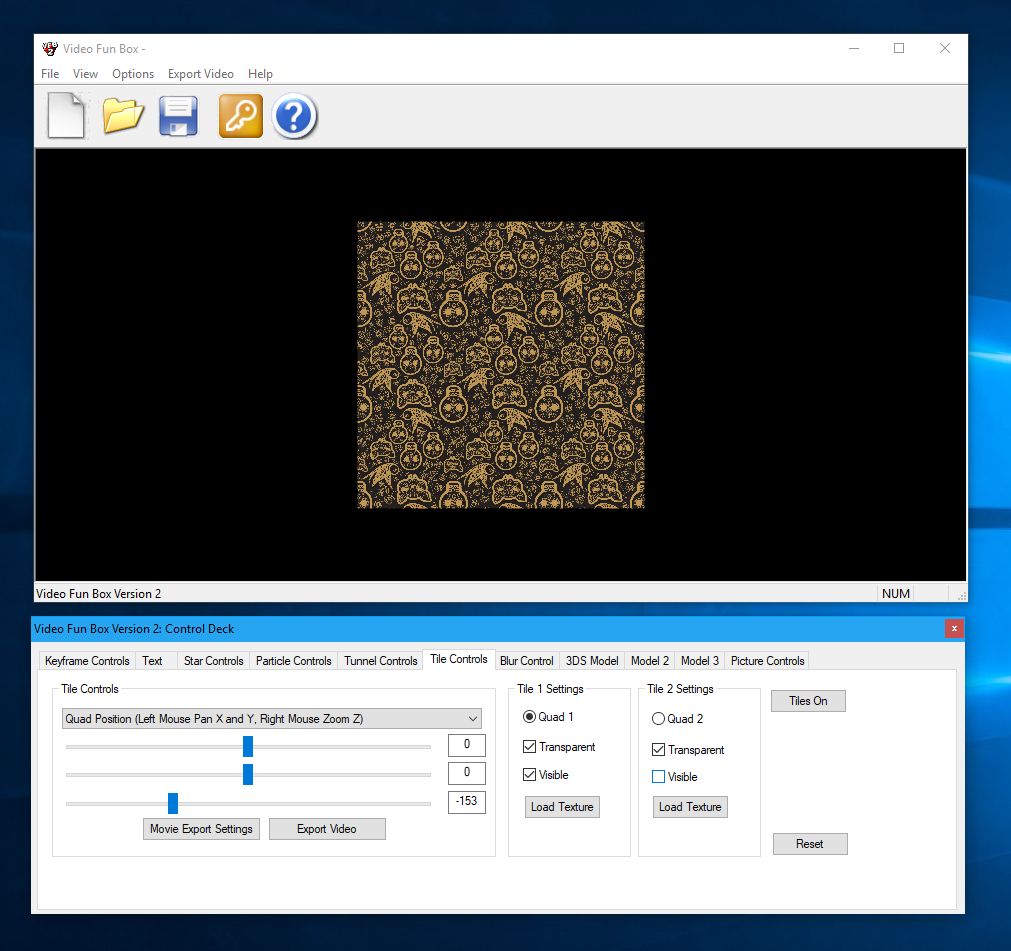
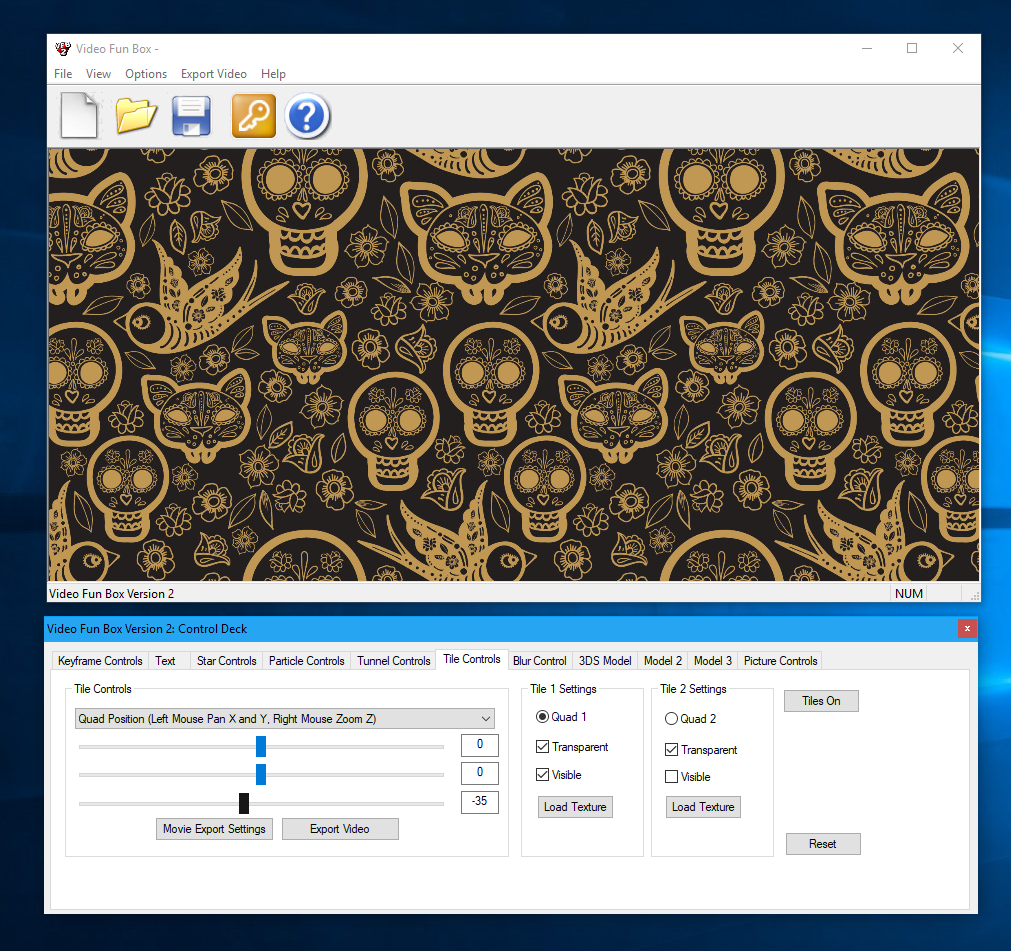
Click the Tile Controls:

Remove the check mark next to “Visible” under the “Tile 2 Settings”. This will hide the second tile as we only want to display one title on this occasion. Select “Load Texture” and load the jpg day of the dead texture you prepared earlier.

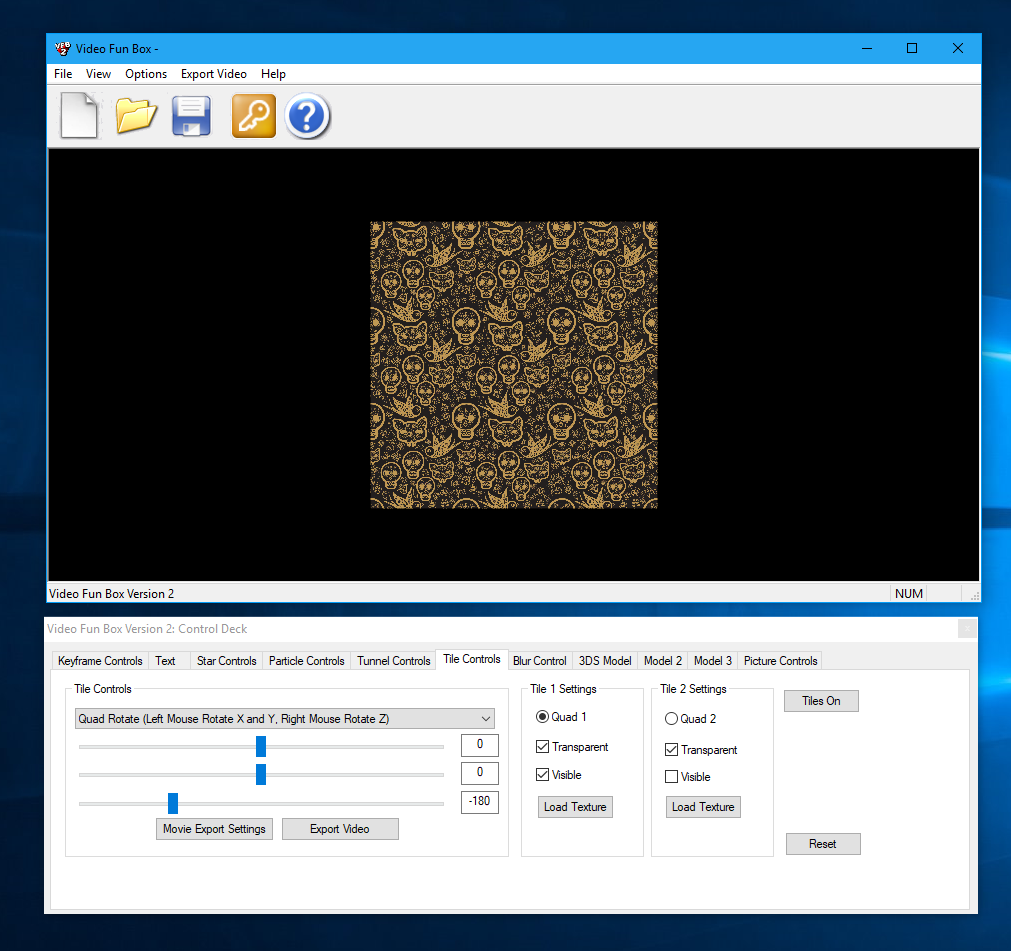
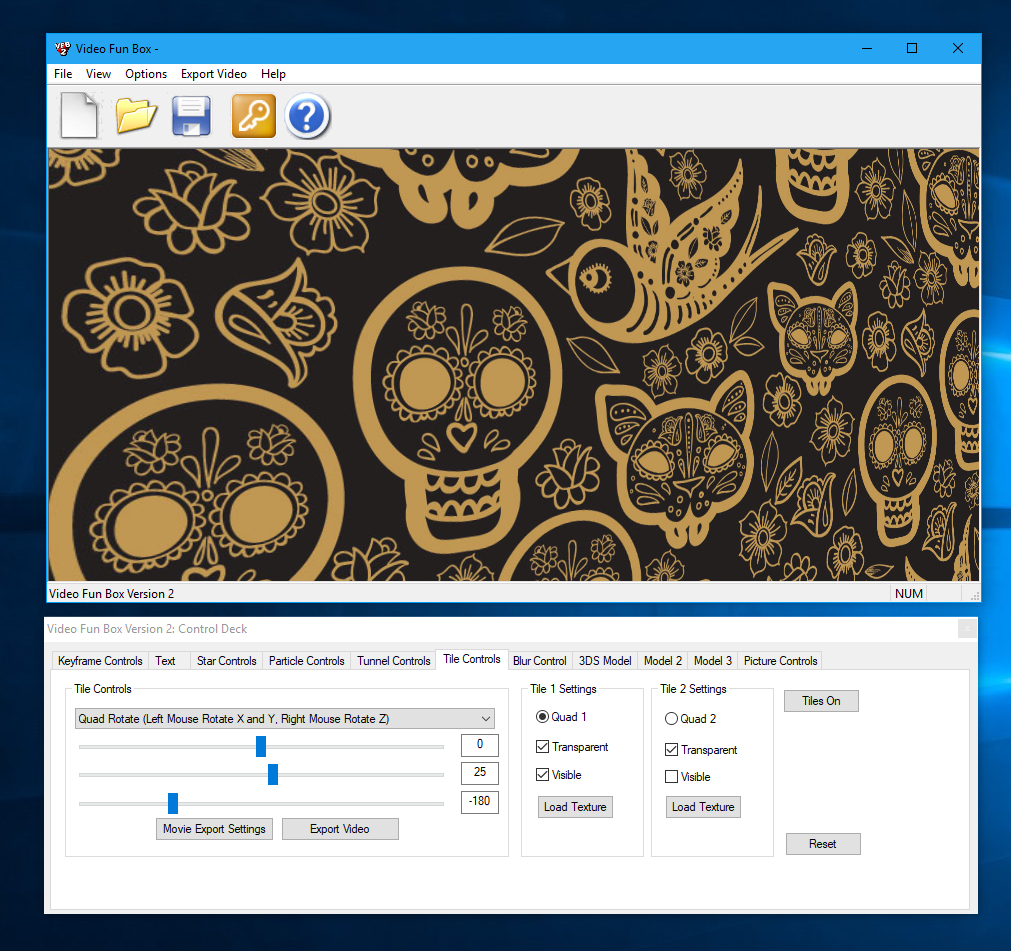
Select Quad Rotate from the drop-down list of controls under Tile Controls. The sliders will now rotate the texture.  Adjust the third slider (z) and move it to -180. The image will now be the correct way up!

Select Quad Position from the drop-down list of controls under the Tile Controls heading. Drag the Zoom Slider (Slider 3) to -16. This will zoom in on the image.

Select the Quad Rotate controls and drag the slider to 25. This will rotate the image 25 degrees on the y axis. We are now ready to add our first keyframe.

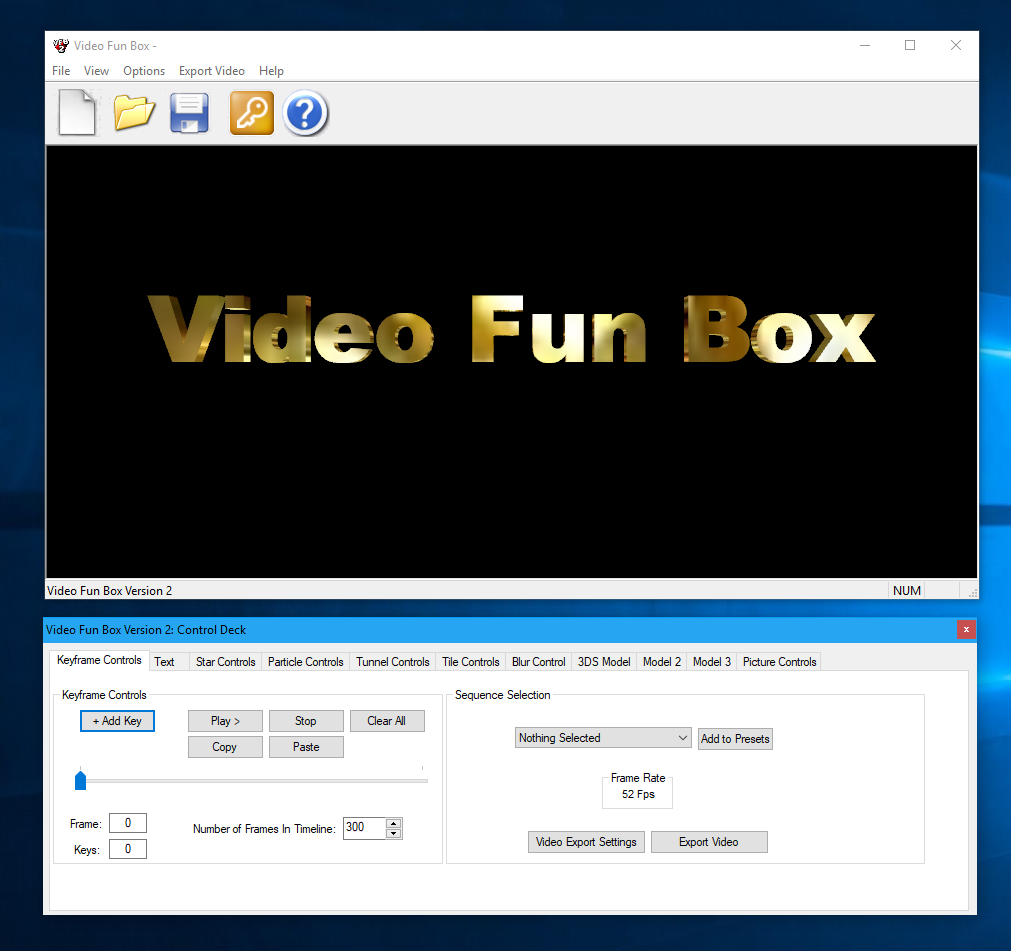
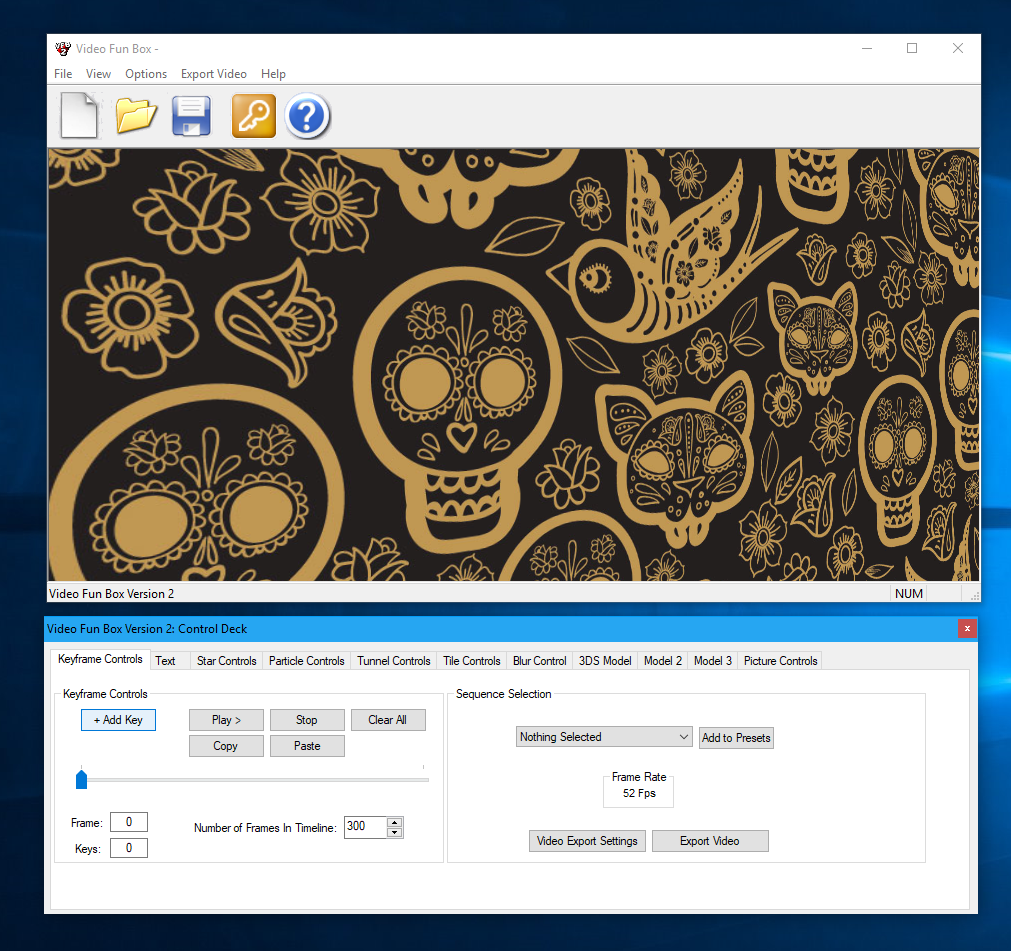
Click the Keyframe Controls on the Control Deck and click “+Add Key”.

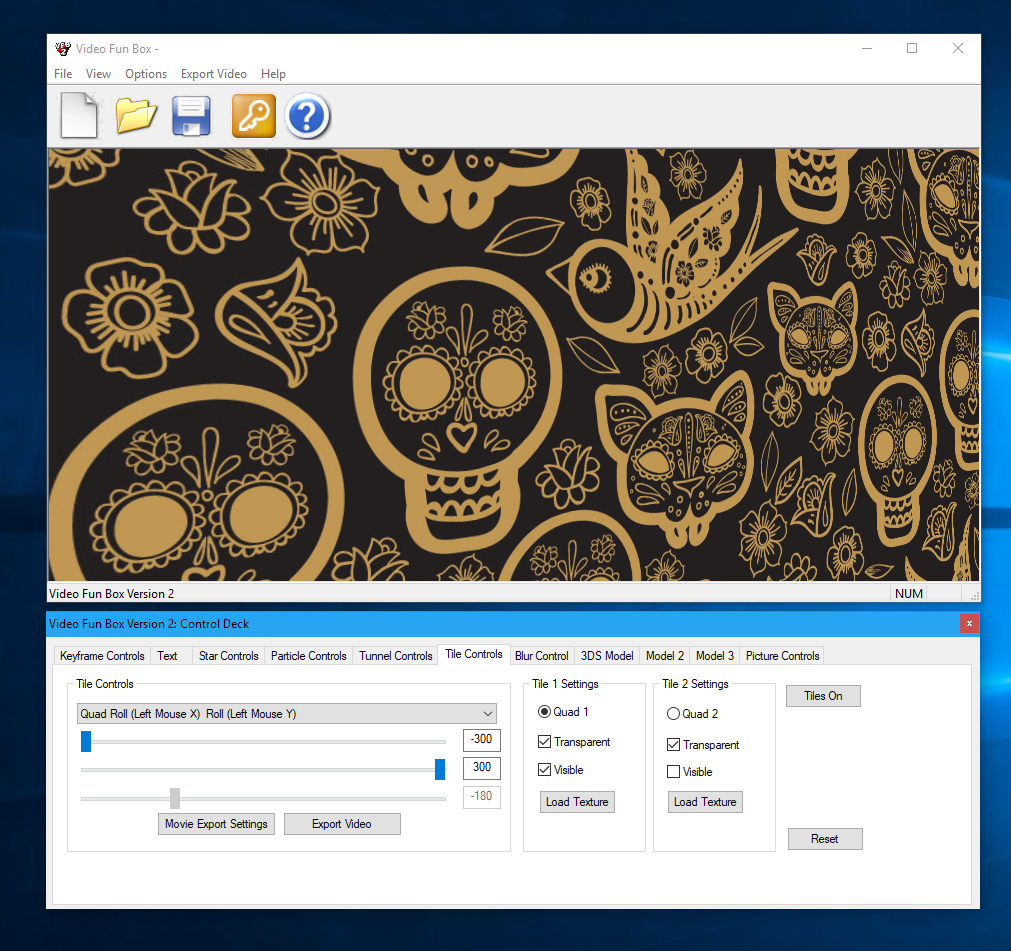
Click back to the Tile Controls tab and Select Quad Roll from the Tile Controls drop-down menu. Drag the top slider to -300 and middle slider to 300. Click back to the Keyframe Controls tab:

Drag the Keyframe Slider to Frame 300 and click + Add Key. You can now preview the animation you have created by dragging the slider backwards and forwards and click play. Click the Export Video button to export an AVI video file from Video Fun Box.